dumping adobe

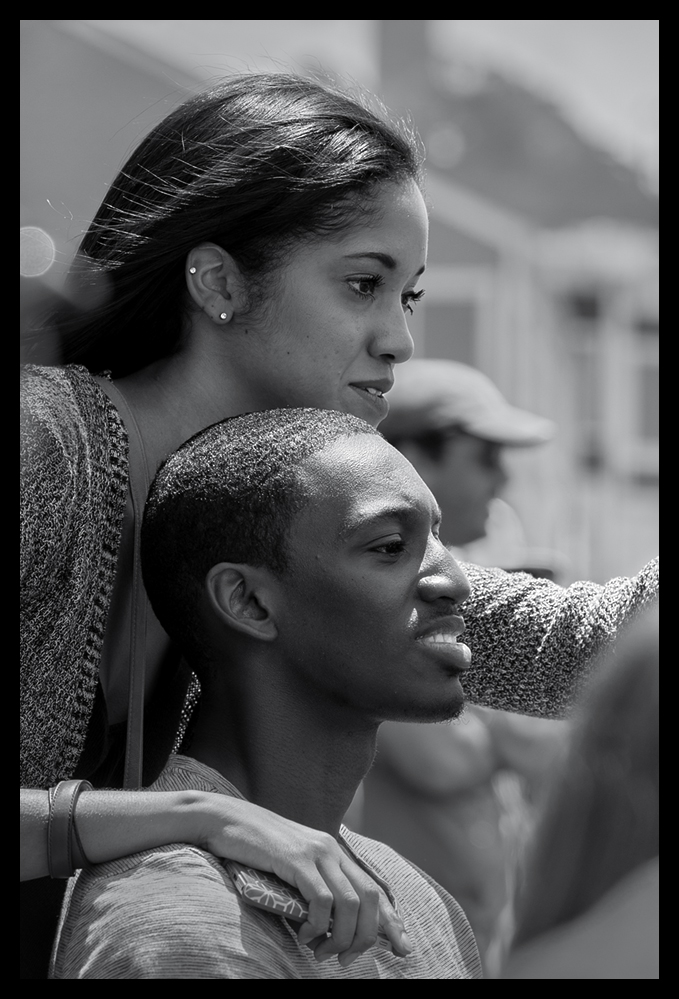
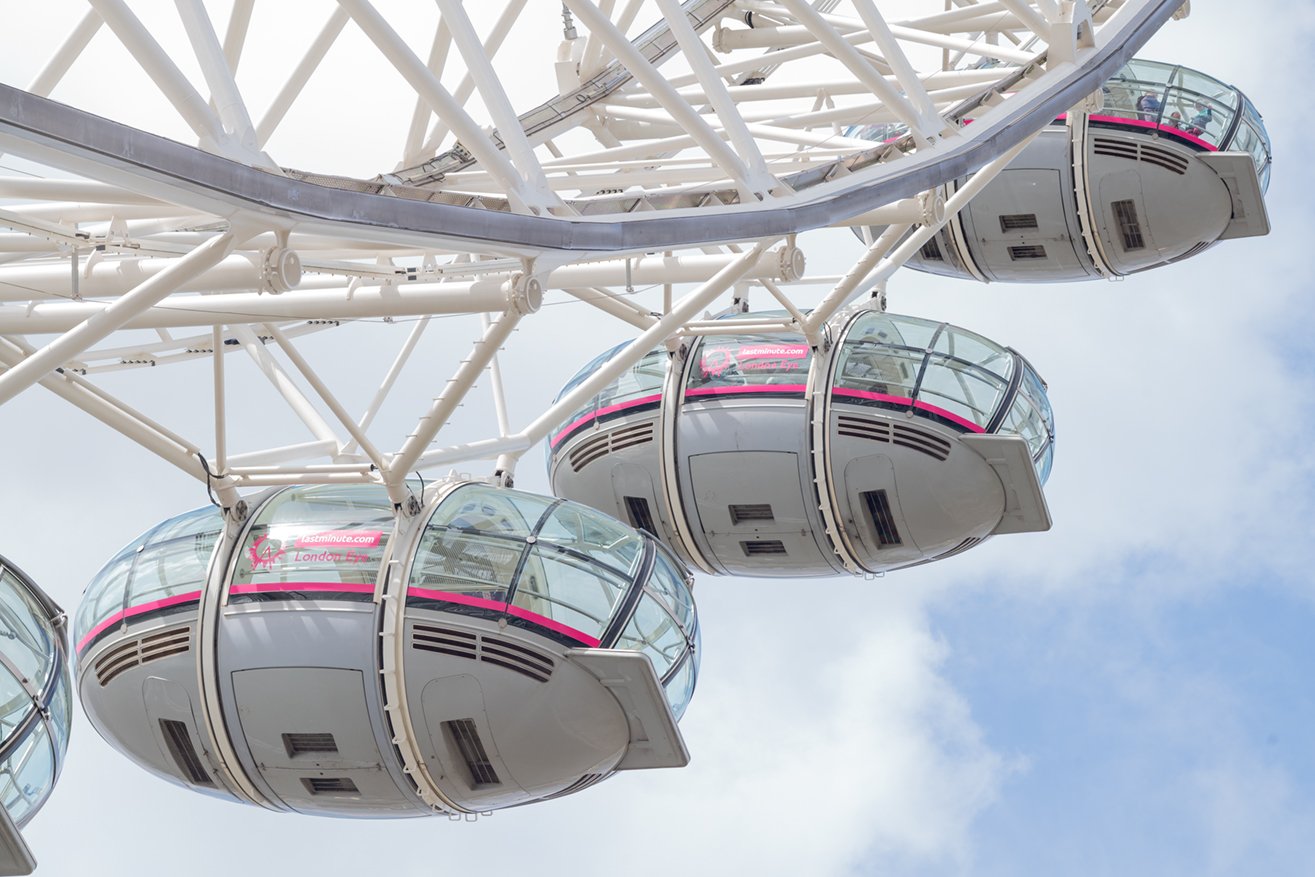
London Eye shot with a Leica M10 and 90mm Summicron M Lens processed entirely without the use of Photoshop
After more than twenty five years of continuously buying versions and subscriptions from Adobe, I have finally cancelled my subscription. The recent mid 2024 debacle over Adobe’s new terms and conditions with all that that implied for the present and future users, finally sent me over the edge. That’s all I’m going to say about it - at least for now!.
Actually it isn’t the first time I’ve rethought my use of Photoshop. Several years ago I did a careful study of the alternatives, which at that time included Capture One and DxO’s mainstream offerings, but then I felt there was too much lacking in their products to cover all my use cases, which include Street, Landscape, Wedding, Portrait and Astro photography genres. It was actually a discussion in my drone pilots’ chat group that triggered this latest review and various members suggested quite a range of relative newcomer providers. Well, I say newcomers; it just turned out I hadn’t been paying attention! I’m not going to rehearse all the tests I did on all the possibilities - that would be mind numbingly boring!
how to replace photoshop with an equivalent or better
It’s probably best if I just give you the gist and the final situation. After a survey of the numerous available options, I made the decision that the software did not necessarily have to offer any AI support; indeed I wanted to ensure that its functionality should provide all the necessary manual tools that I had become used to for processing each of my different genre’s work. Also, the software had to provide a one-time purchase license choice, the provider of which should have been developing the software for a substantial number of years. I did not consider free software. It’s surprising the range of tools necessary to cover a wide range of photography types. You don’t realise that until you go looking for equivalent functionality from other providers! I narrowed my choice to ON1 Photo Raw 2024.5 and Affinity Photo 2 but later included DxO’s PureRaw 4 for initial processing of RAW files in particular circumstances.
I went through a series of basic tests using images from each genre that I had previously processed in Photoshop where each test provided particular challenges. These were regular images which needed specific functionality to complete the work to the same or higher standard than in Photoshop i.e tools that were the equal of Photoshop or better as I had by then noticed that both the chosen applications had improved on Photoshop in several areas - AI functionality excluded. This was particularly obvious in improved workflows. Obviously the developers had recognised both the need and the opportunity to improve things if they were to attract long term Photoshop users.
I spent several weeks doing these tests and discovered quit a bit has changed since I last did this sort of survey several years ago. All to the good. There is no doubt that there are probably a half dozen genuine alternatives to Photoshop that would cover 85%-95% of general photographers’ needs and those choices would reflect personal taste and preferred workflow as much as functionality requirements. I also took on a cooked food product photography project for a client while doing the tests and, surprisingly, fully post processed the selected deliverables using these two applications.
my final choices
For myself, I found that ON1 Photo Raw 2024.5 and Affinity Photo 2 made a pretty nearly perfect pairing, covering everything I need and then some, including in ON!’s case some very useful and effective AI supported tools. There is no AI driven functionality in Affinity Photo 2 but it has a much wider range of manual tools that ON1, which suited the more challenging images in my tests. If I absolutely HAD to choose only one application I would most likely go with Affinity Photo 2 as it’s the closest to a typical Photoshop tool set, structure and workflow.
I have to say that both these applications were easy to learn and apply - maybe because I have plenty of experience in post processing, but I think that is a point worth making. There are also many, many tutorials available to help new users, both from the developers and on YouTube, so the learning curve was not that difficult to navigate.
some examples - photoshop vs alternatives
Leica M10 - RAW image processed in Photoshop. Highlight recovery was the challenge.
Same source image as above but slightly different crop. Image processed in ON1 Photo 2024.5
Obviously, the more recent image is a slightly different set of processing choices, which for me has resulted in a better final image, but that’s not the point. I was able to produce the same or better with this image than in my earlier example. So that meant I was at no disadvantage by not using Photoshop.

A detail of the original RAW file from a portrait session Leica SL2 with 90mm Summicron at f2.8

Same image processed in ON1 using all manual tools
Once again, the point is that I was able to complete the work in ON1 using only the manual tools available.

Last Race of the Day at Brands Hatch - original shot using Nikon D500 & 500mm lens at f5,6. Processed in Photoshop
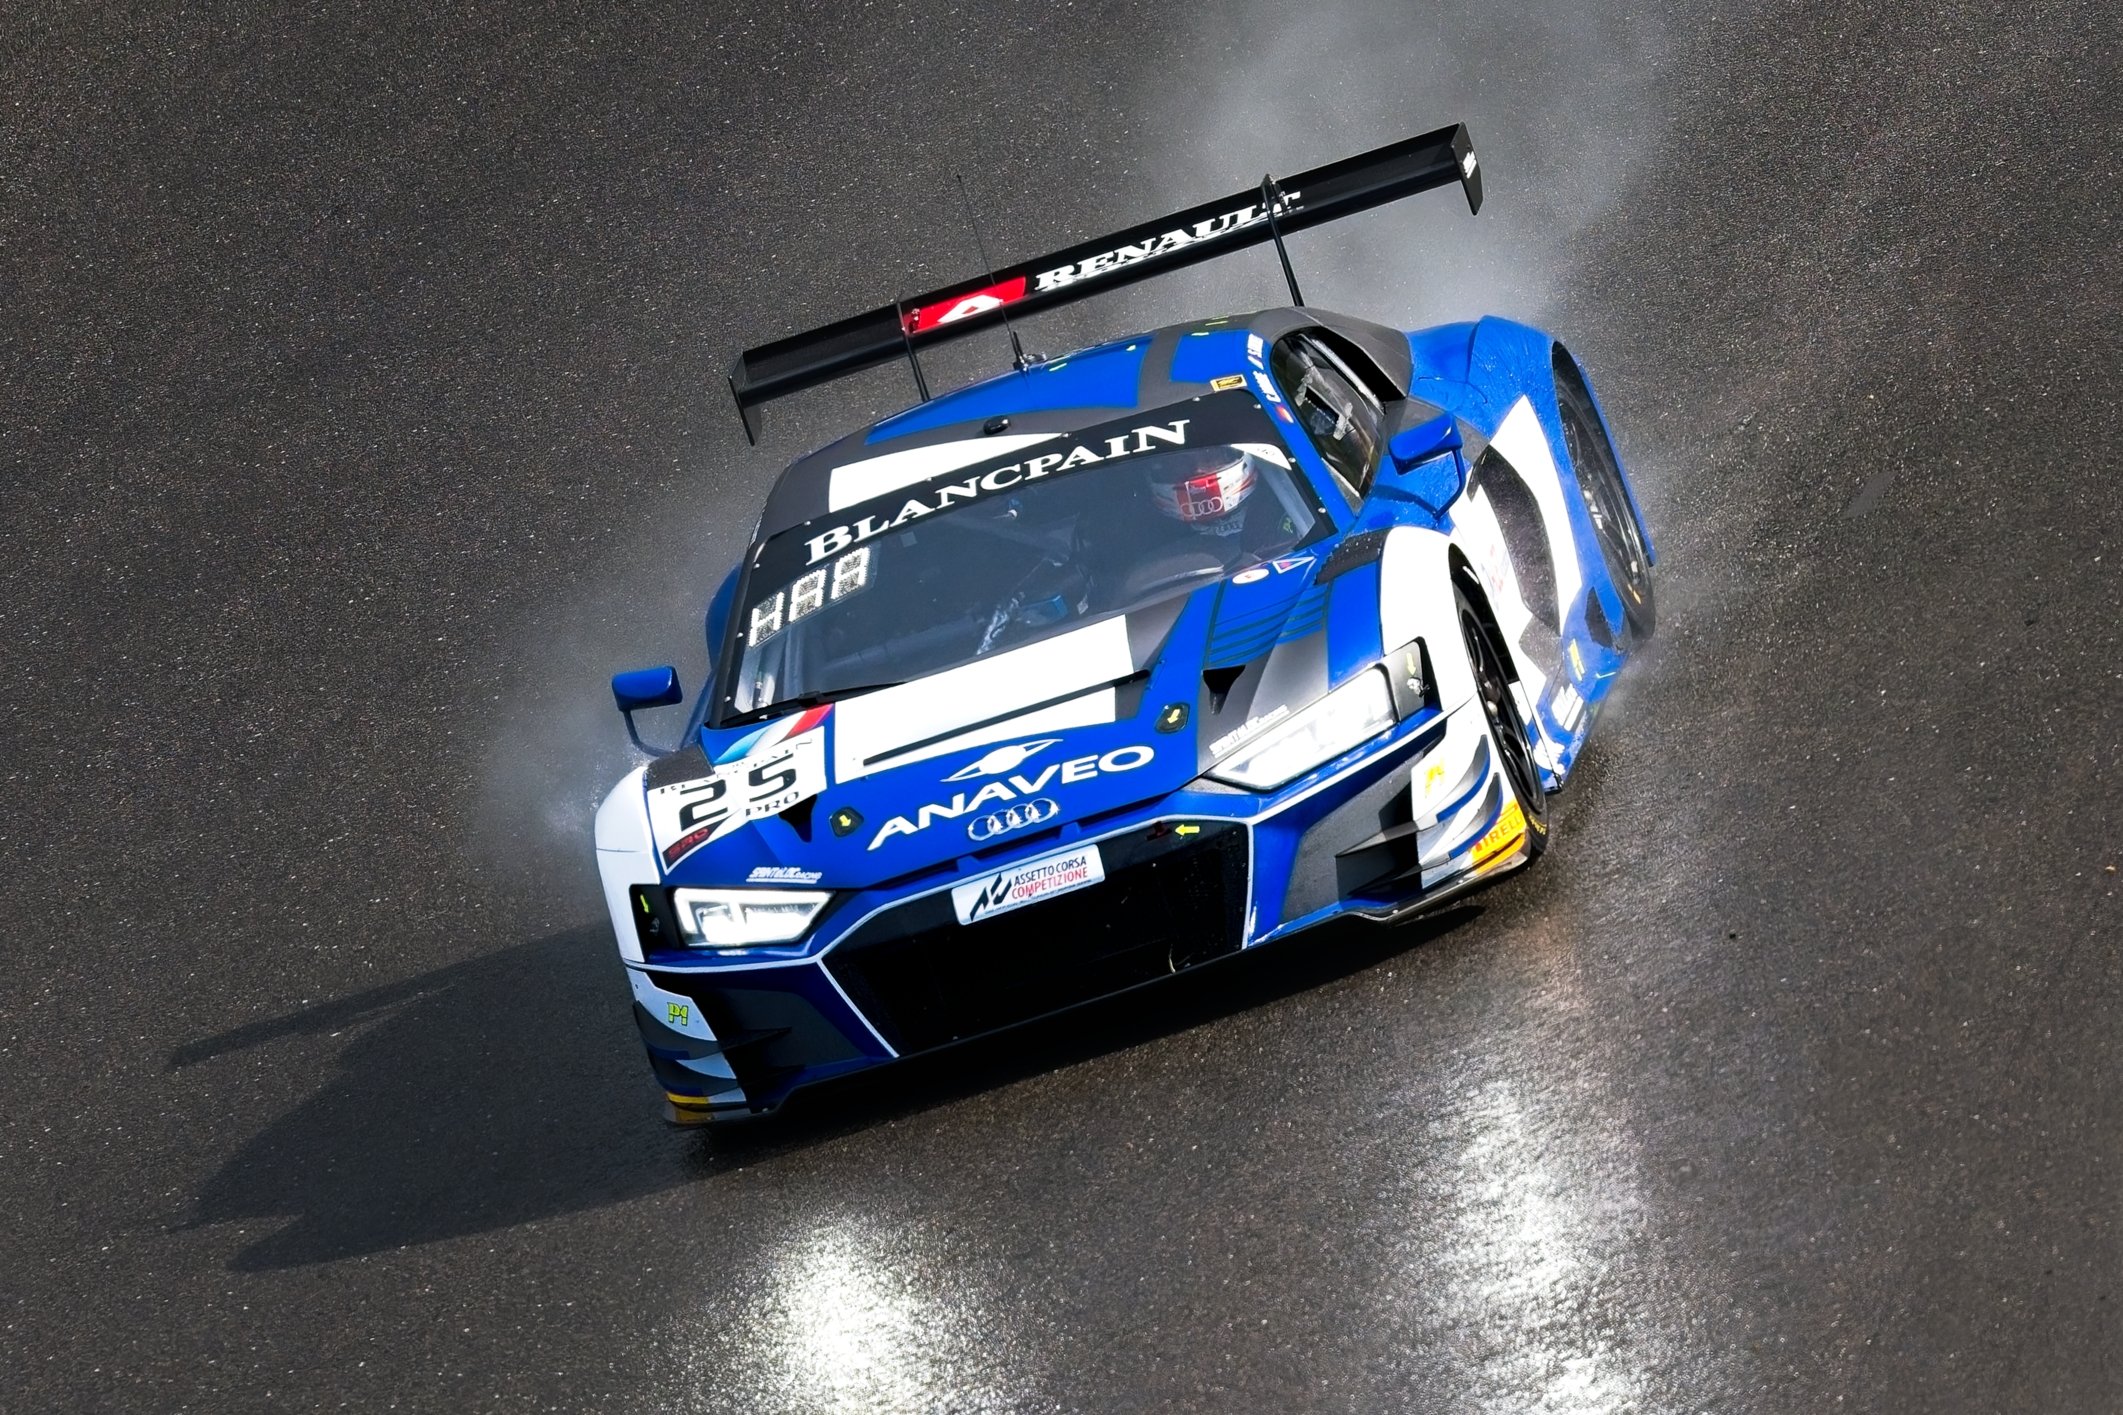
Same source image, this time rotated - processed with ON! but rendering the RAW file through DxO PureRaw4 - an improved result
Once again I was able to achieve a similar result - the challenge here was keeping the energy of the shot & retaining the spray and headlight effects. Notice that the car interior is cleaner in this example. This is a case where PureRaw4 renders more useable data from a RAW file with far less noise, particularly in the shadows and highlights.

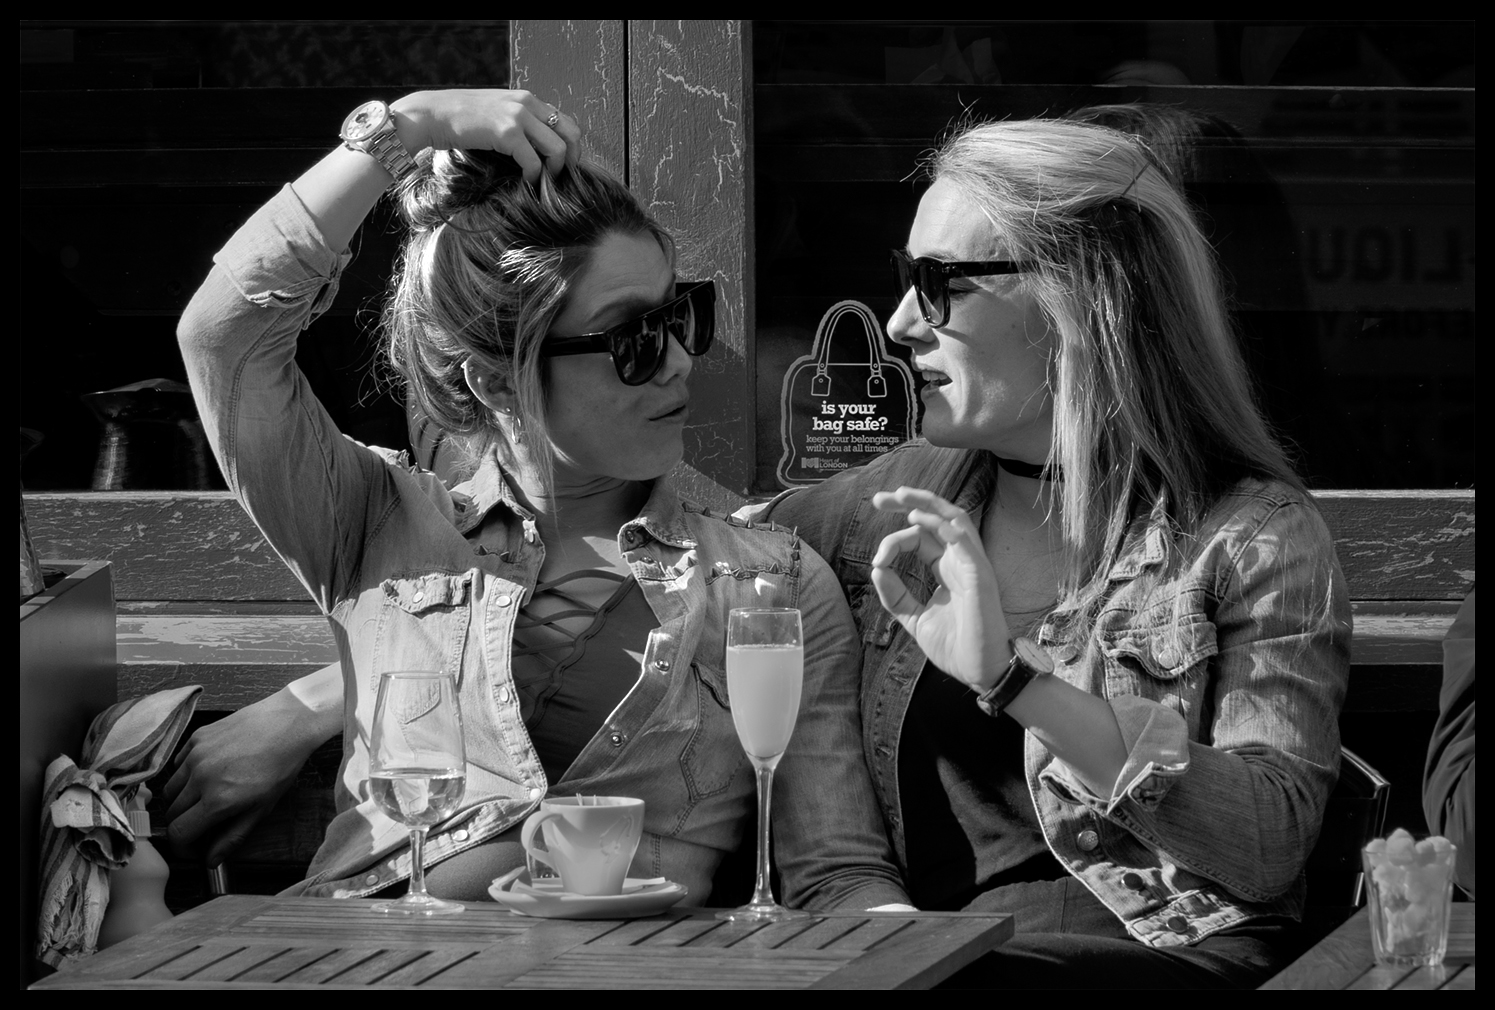
Is that Really Me!? - Street Photography, Leica SL1 with 180mm Leica R Lens @ f4 - Originally a Colour Image - Processed in Photoshop

Same colour source image first rendered in DxO's PureRaw4 (improved skin textures) then processed in ON1
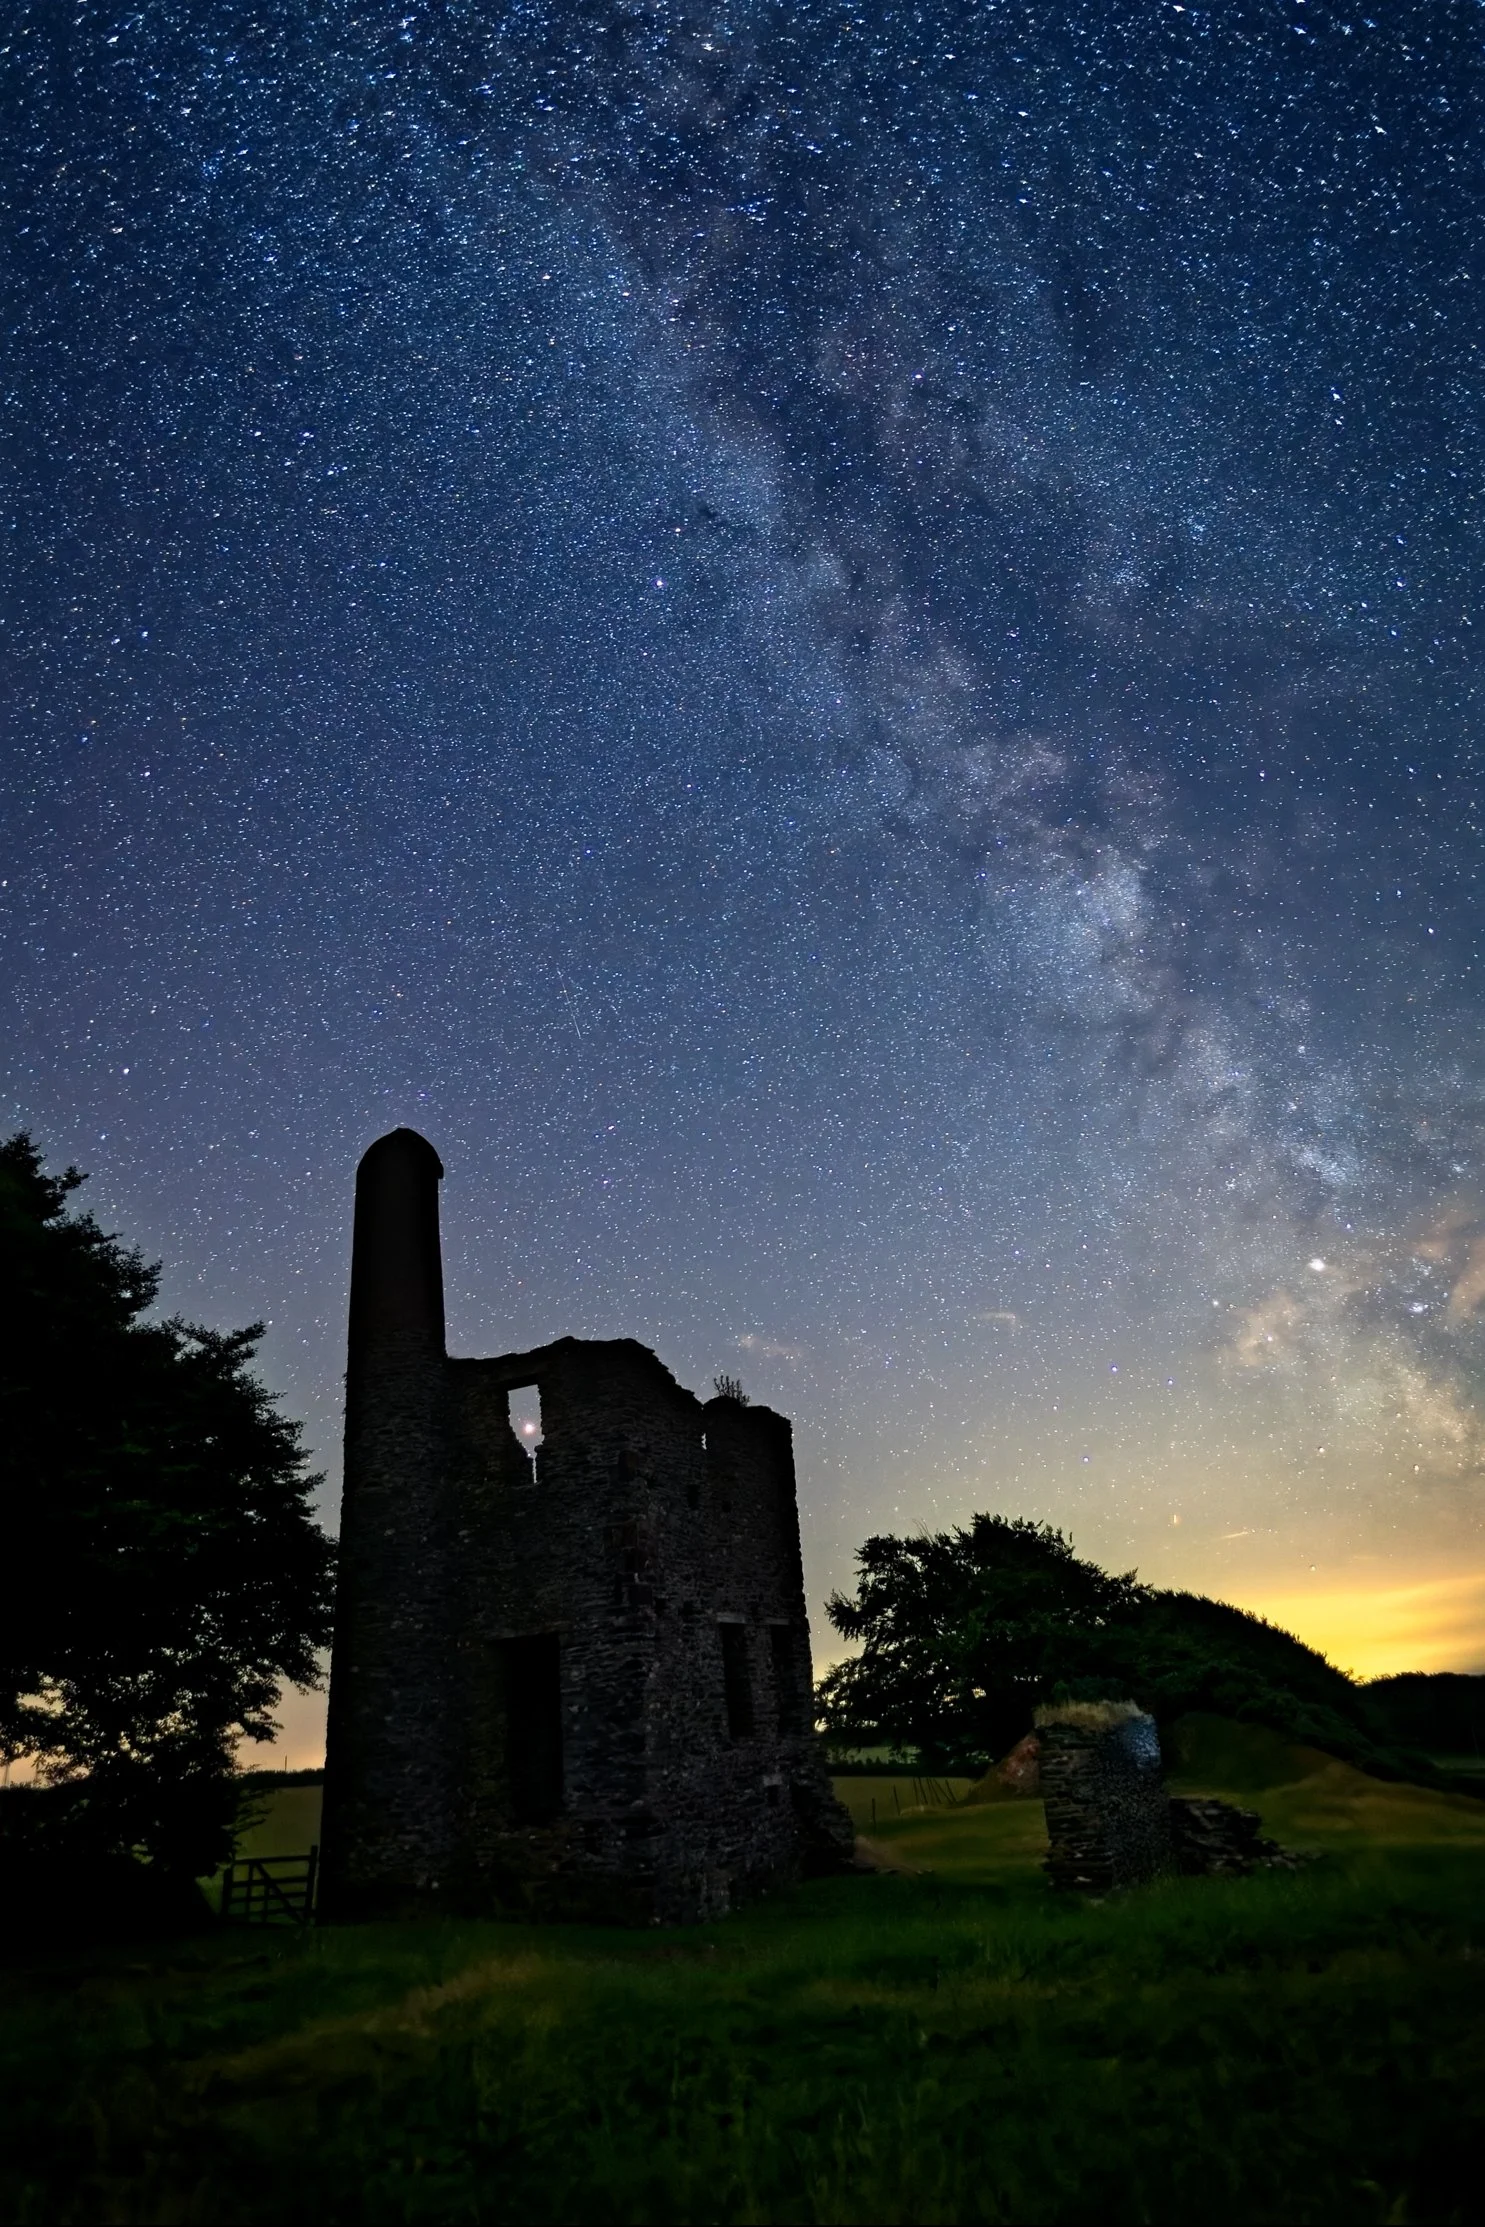
These are older Photoshop Astro images reprocessed in PureRaw4 and then ON1 - no point in showing the PS Version!

Nikon D5 single shot Image.rendered from RAW file by DxO's PureRaw4 - much improved shadow detail and noise profile. Rendered in ON1
Once again PureRaw4 rendered from RAW, then processed in ON1 - far superior to my earlier version in Photoshop

Single shot Nikon D500 with Nikon 500mm lens & X2 equiv. 1500mm lens - Rendered from RAW with PureRaw4 then Affinity Photo 2
This shot is a far superior result compared with my Photoshop version. There is a great Astro workflow in Affinity Photo 2>
I did many other tests comparing results and eventually I was persuaded that dumping Photoshop was finally a workable option. I was confident enough that I decided to use this new approach on a client project photographing food products for a ‘fast food’ truck business. These were all preliminary shots of dishes that were being developed and we had decided to use a light box for simplicity and space saving reasons as we were working in a small kitchen. So here is two examples of the test shots:

20 Shot Nikon Z8 and 50mm lens, Rendered in PureRaw4 then focus merged in Affinity Photo 2

Notice how the box has been reshaped and cleaned up as has the lining paper. The Empanadas have fully 'beautified' in Affinity Photo 2

20 shot Salchipapa RAW images rendered in PureRaw4 then focus merged in Affinity Photo 2. The lightbox access panel edges show too

The finished image; box reshaped and beautified; chips, sausage and crackling beautified all in Affinity Photo 2
conclusions
Finally, there is no longer a need to keep paying Adobe a never ending subscription for its Photoshop and Lightroom applications. The tests I conducted, although not all shown here, convinced me that my new workflow will be built on Affinity Photo 2 and ON1 Photo Raw 2024.5 with the occasional use of DxO’s PureRaw4 renderer when the absolute best is required in the first stages of processing. Folks, try this for yourselves - you’ll be agreeably surprised at how well these applications can do the job, sometimes even better than Photoshop!
If you’ve enjoyed, been entertained by, or found this article useful, please take a moment to hit the like button below. I really appreciate you stopping by and the like button is the best way for me to know that I am providing useful information.